Installation Guide
A comprehensive guide to installing your landscape edging with precision and care
Essential Tools
Gather these tools before beginning your installation for the best results

Wood Block
For hammering COR-TEN landscape edging
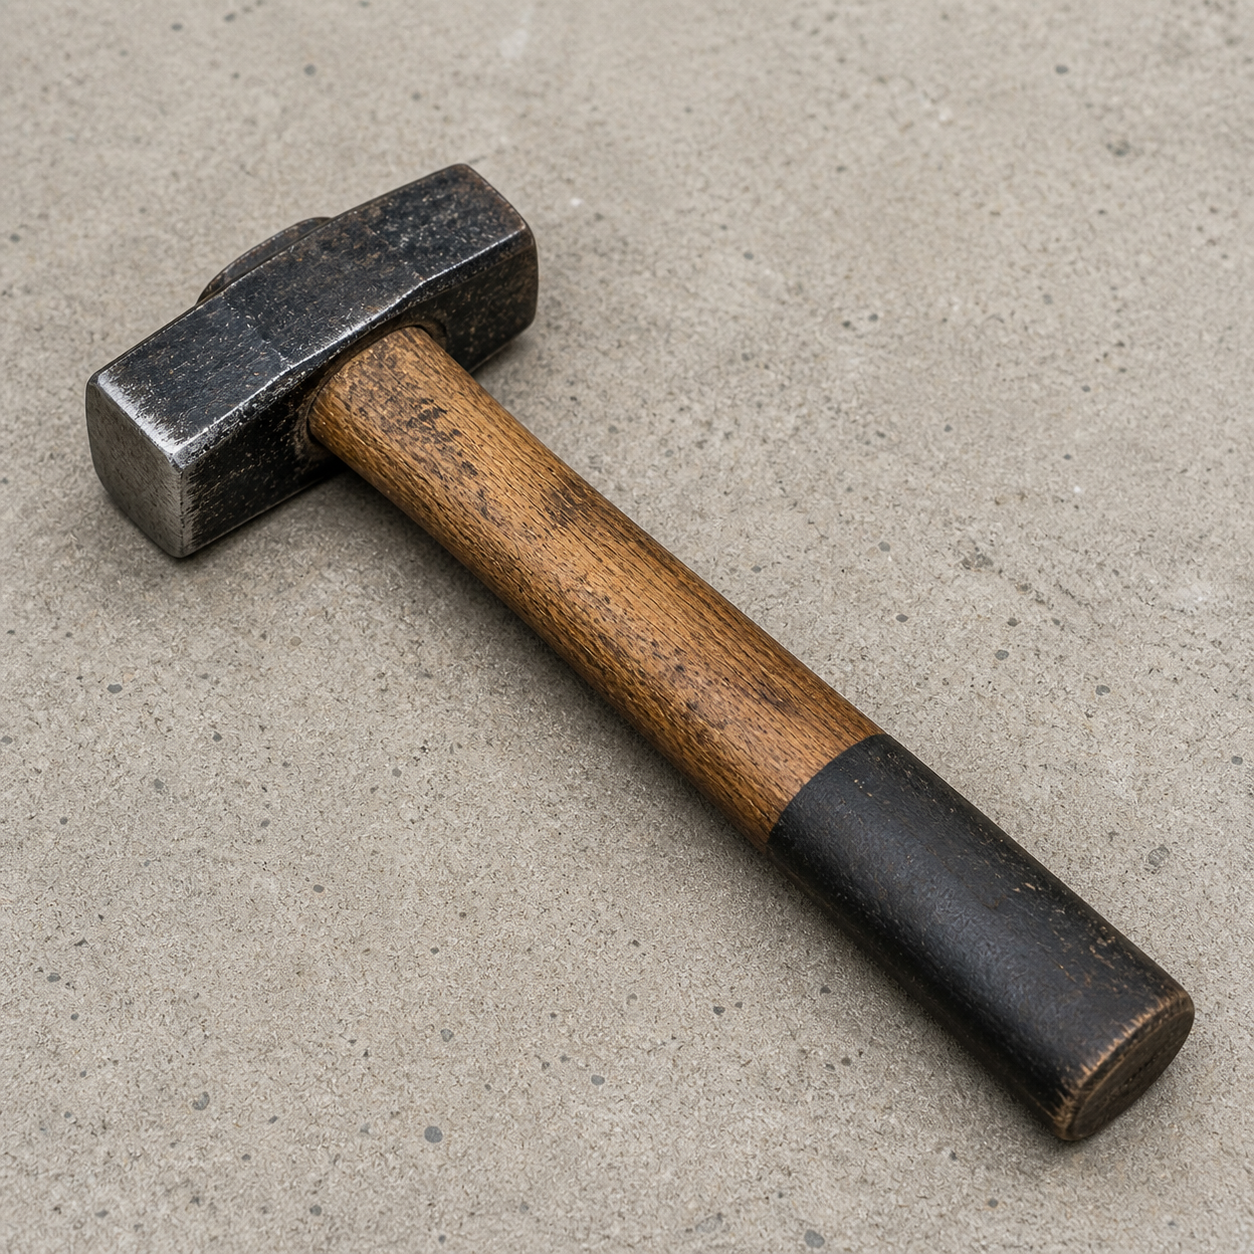
Hammer
For securing the edging in place
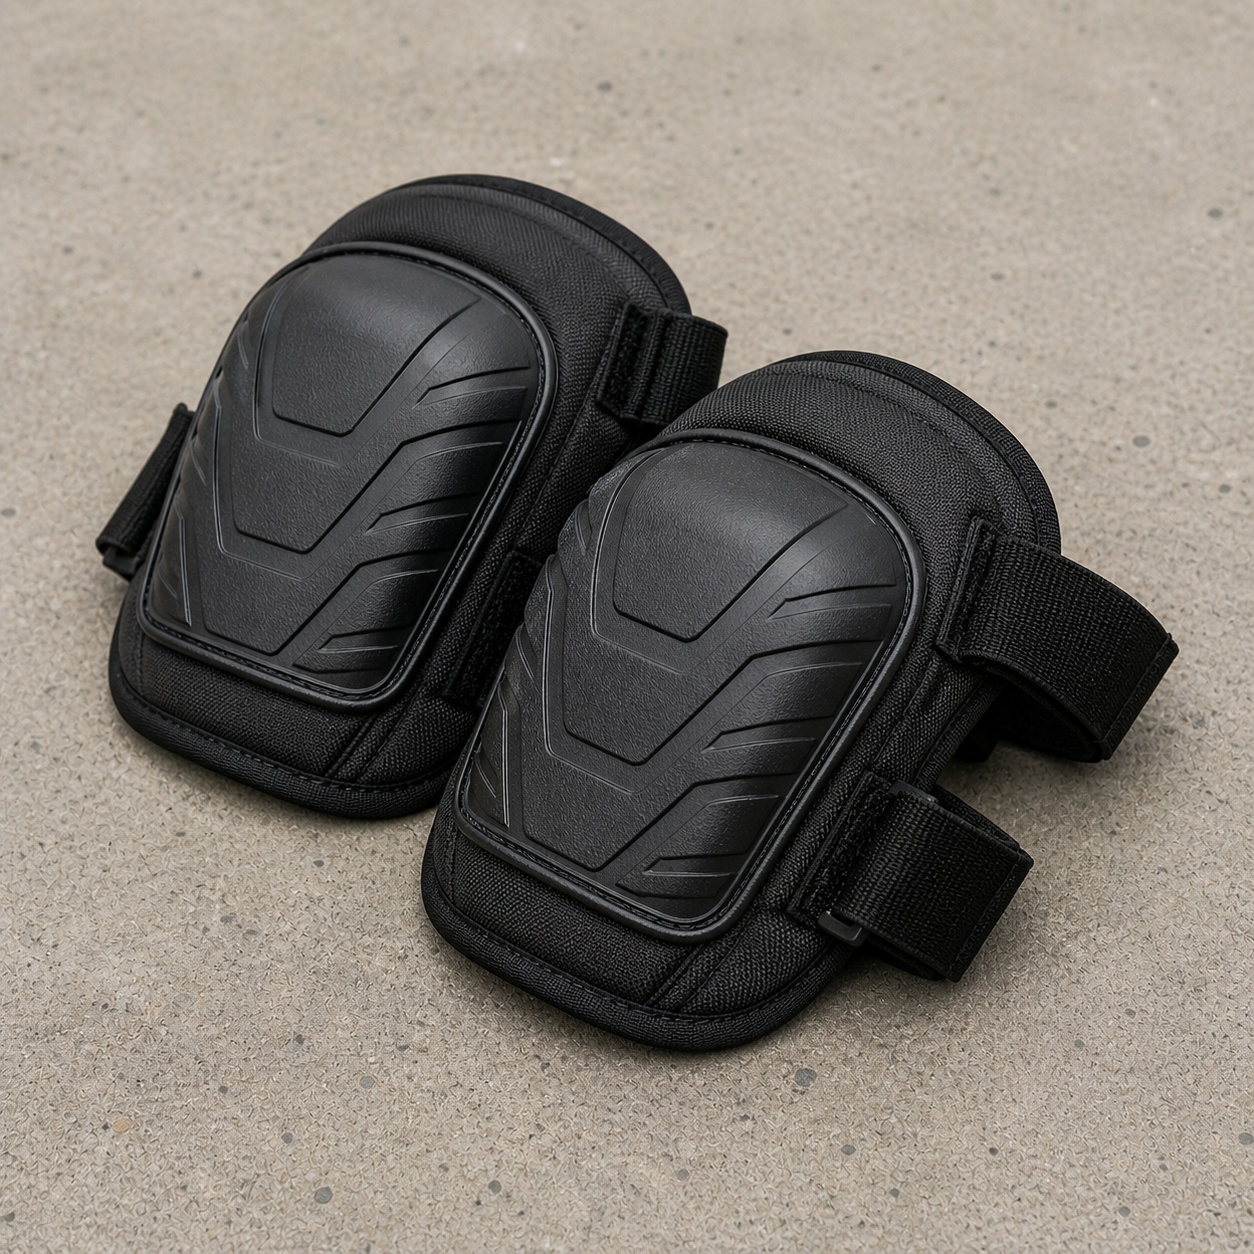
Knee Pads
For comfortable installation

Safety Gear
Safety glasses and gloves

Need the right tools?
Get our complete Installation Kit with a premium wood block and heavy-duty hammer in one convenient package.
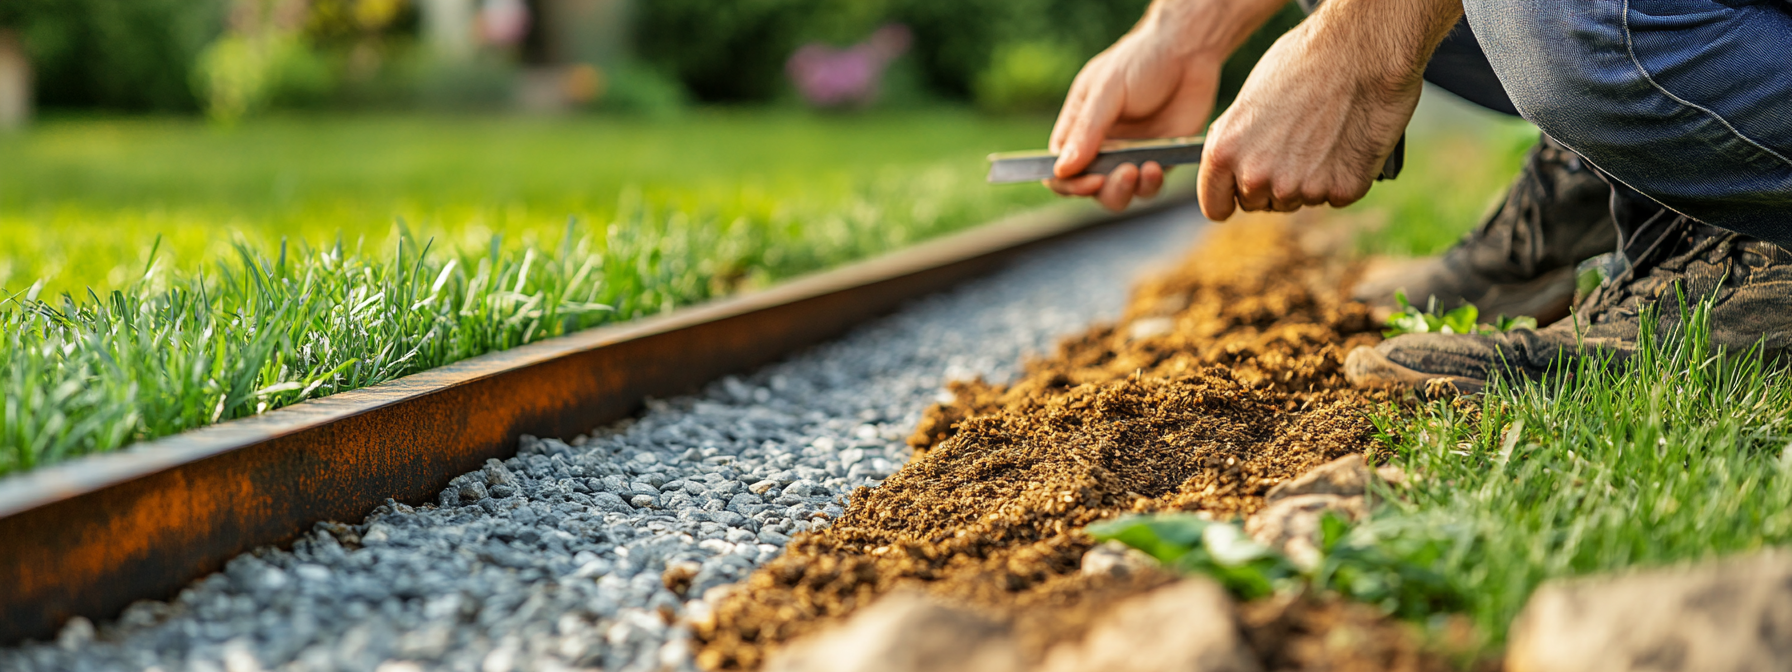
Installation Process
Follow these steps carefully for a professional installation
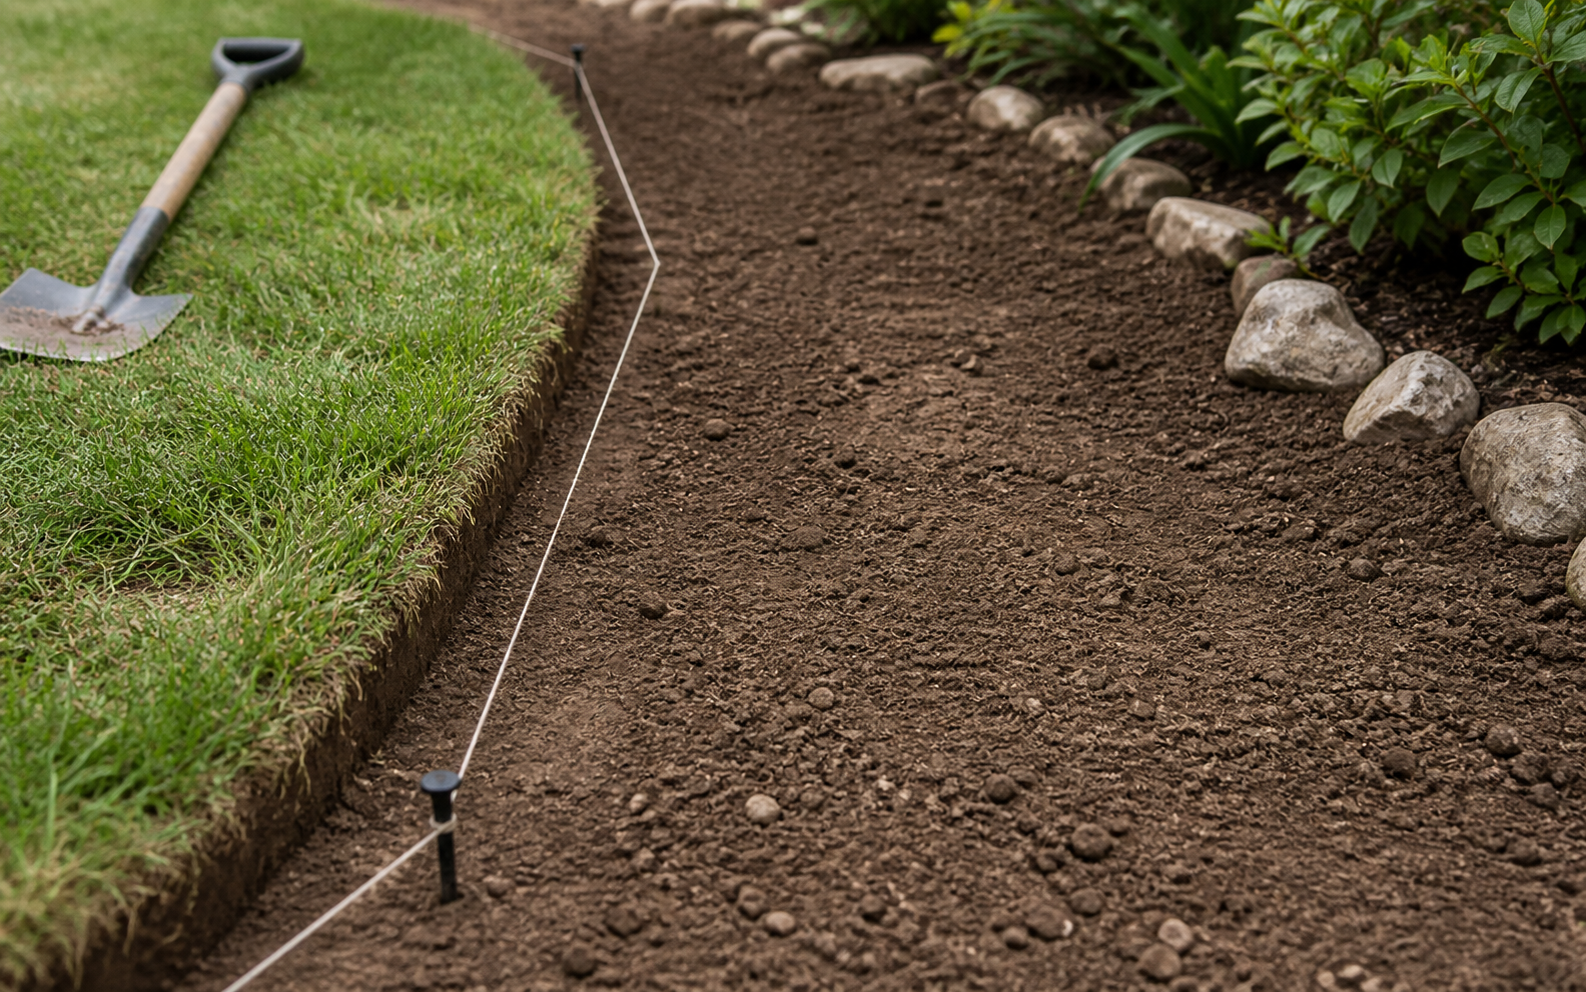
Prepare
Use an edger or shovel to help loosen the soil and define the path where edging will be installed.
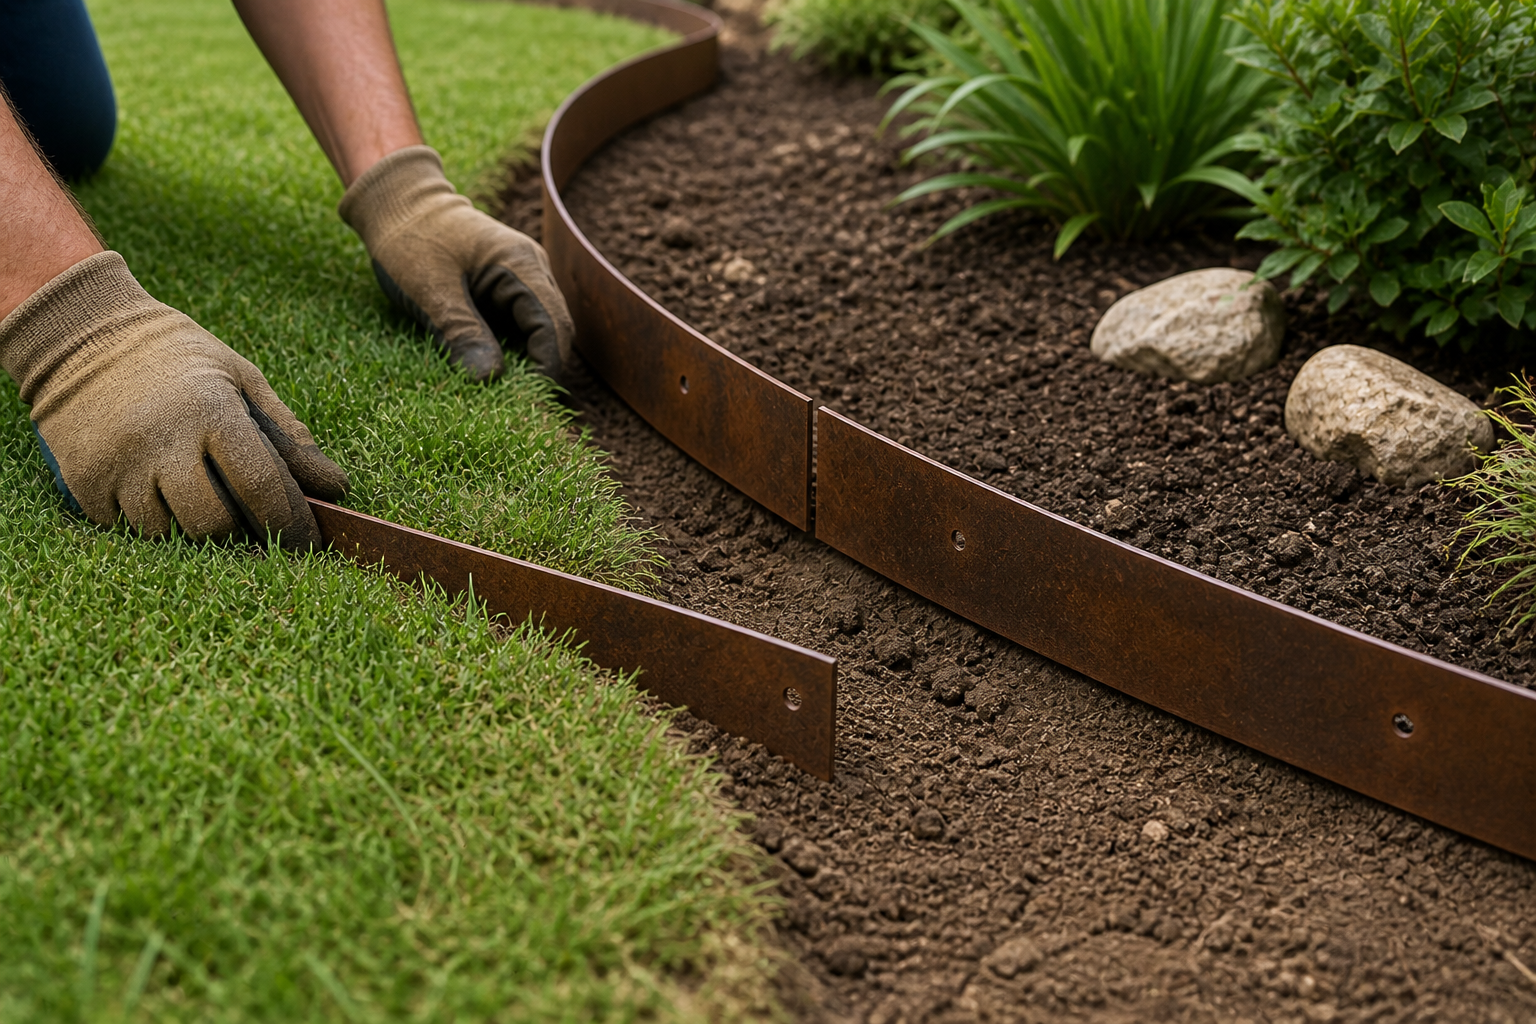
Position
Position the edging with the teeth down along the defined path. Start in the most visible corners for best results.
Hammer
Place wood block over the spine of the edging and drive down with a hammer.
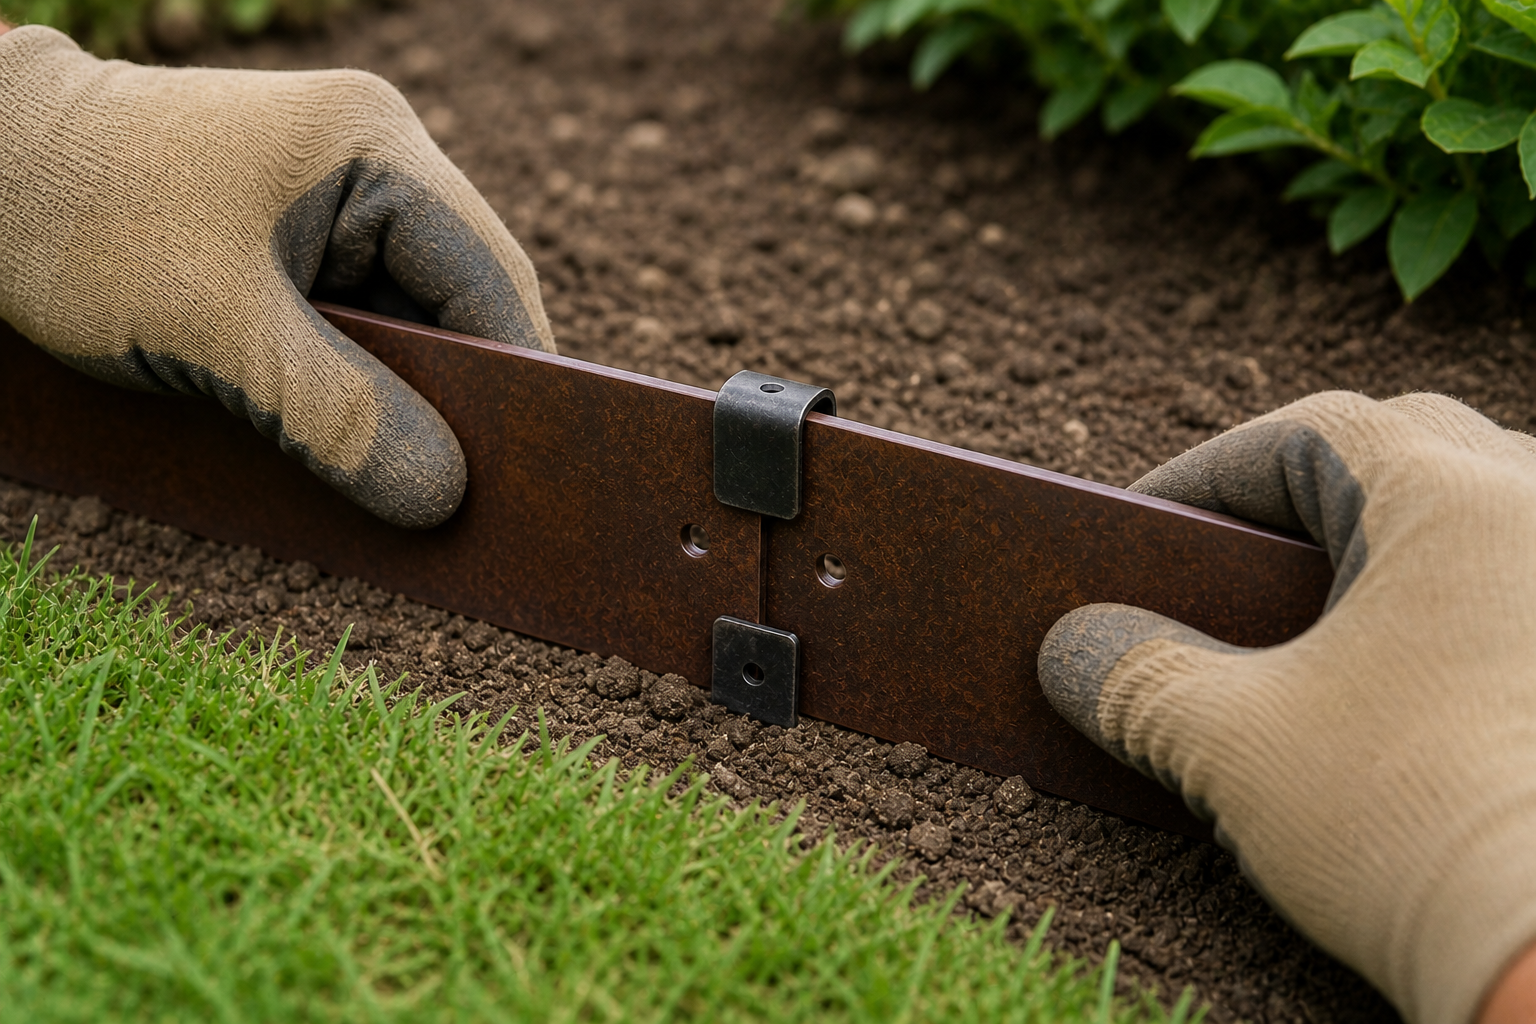
Connect
Place edging end to end, attach clamp between the notch on both ends. Drive down to secure clamp.
Advanced Techniques
Master these techniques for professional results
Bending Techniques
- Sharp Bends: Place the block across the valley of the teeth, bend material to the desired angle while applying pressure to the block.
- Gradual Bends: Stand the material on end and apply pressure to the middle in order to flex the material to the desired radius.
Additional Tips
- Elevation Changes: You can accommodate for slight hills or elevation changes by gapping the material at the joint and using the connector to cover the space.
- Achieving Exact Length: Steel landscape edging can be cut to length using standard metal cutting tools.